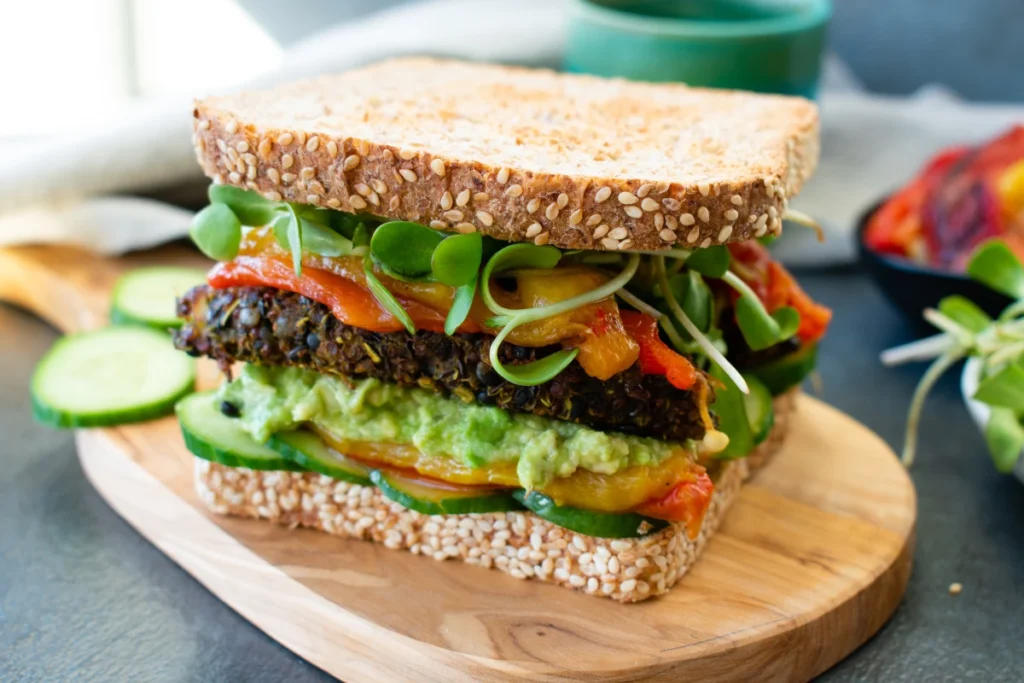
Howdy, foodies! Ready for a tasty escapade filled with gooey, melt-in-your-mouth cheese and the golden, crispy goodness of toasted bread? Brace yourselves because we’re about to master the simplest yet most tantalizing grilled cheese sandwich ever, right from the coziness of your home kitchen. No need for a professional chef’s hat, just grab your appetite along with a handful of basic ingredients.
Here’s what you’ll need
- Your bread of choice (Are you a traditionalist who loves white, or do you crave something more daring like sourdough? You decide!)
- Shredded cheese (cheddar, mozzarella, Swiss – unleash your cheesy desires)
- Butter (salted or unsalted, it’s your game, your rules!)
Step-by-step to the ultimate grilled cheese experience
- Bread Selection: We start our journey with the selection of our bread. It could be the quintessential white or something more adventurous like whole wheat or sourdough. The reins are in your hands.
- Cheesy Delights: Then, it’s time for cheese. Whether you’re a cheddar, mozzarella, or Swiss fan, or if you love to mix things up, you’ll need approximately a cup and a half of shredded cheese.
- Get Your Butter On: Now, take your bread slices and spread butter on one side of each. Remember, less is more – we want a beautifully toasted exterior, not an oily one.
- Cheese Galore: Sprinkle your favorite shredded cheese on the non-buttered side of one of the slices, ensuring an even spread. There’s no such thing as too much cheese here!
- Sandwich Time: Let the magic happen. Take your other slice and place it on top, with the buttered side facing outward. It’s like a warm cheesy embrace within the two slices.
- Heat Things Up: Now, over medium-low heat, heat up your skillet or frying pan. Place your sandwich and let it cook on each side for 2-3 minutes to achieve that desirable golden-brown crust.
- Press Time: Got a spatula or sandwich press? Use it to lightly press your sandwich, helping the cheese to fully melt. After a few minutes, flip it to toast the other side.
- Patience, Grasshopper: Once both sides are toasted to perfection and the cheese has melted into a mouth-watering sight, remove your sandwich. Let it cool for a moment before diving in – this prevents the cheese from making a quick exit.
- Spice It Up: Feeling creative? Add in some thinly sliced tomatoes, caramelized onions, crispy bacon, or a dash of hot sauce. It’s your sandwich, rule it as you, please!
Wrap It Up Deliciously

Voila! You’ve just crafted the easiest and most scrumptious grilled cheese sandwich ever. This comfort food classic is perfect for everyone, from cooking novices to seasoned kitchen veterans. So, gather your bread, cheese, and butter, and let’s get cooking. Enjoy every heavenly, crunchy, and cheesy bite – perhaps with a side of Instagram-worthy cheese pull shots! Bon Appétit!


